Tracker Challenge
Thanks for taking the time to do the Tracker Challenge! Remember to complete all the steps to be entered into a drawing for a Deltasig Prize Pack worth $250!
Overview: You’ll be using memberplanet to track study session hours; you’ll go through event check-in and add study hours for yourself, then you’ll check the tracker report. Once completed, please take the short survey at the bottom of this page to be entered into the drawing. You will receive one entry for a Deltasig Prize Pack for each of the four challenges completed.
Let’s get started! Create a participation tracker:
First, you’ll need to sign in to your memberplanet admin portal, then follow the steps below. If you do not have login credentials yet, please fill out our claim admin account survey.
- In the left navigation sidebar, click Participation Tracker
2. On the top right, click Add Tracker
3. For this challenge, you will select the Study Hours Tracker template
Congrats! Your Study Hours tracker will be created and you should receive an onscreen notification:
Your new tracker will appear in your dashboard.
It’s time to create an event for your study session! Go back to your admin dashboard by clicking the home icon on the top left.
It’s time to create an event for your study session! Go back to your admin dashboard by clicking the home icon on the top left.
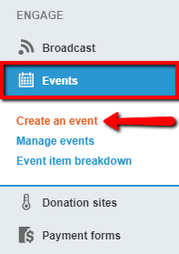
- In the left navigation bar, click Events, then select Create an Event in the submenu
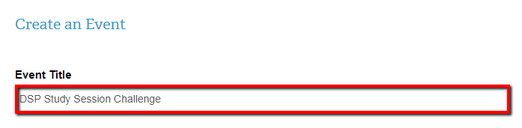
2. Fill in a title
Sample title: Deltasig Study Session Challenge
Sample title: Deltasig Study Session Challenge
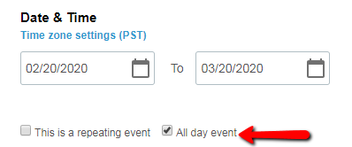
3. In the Date & Time section, select today’s date (the day you’re completing the challenge), and click the checkbox next to All Day Event
4. Type in text for the rest of the event info:
Sample venue name: The library
Sample summary: Come to our Deltasig study session and check in with an officer to have your study hours recorded.
Sample venue name: The library
Sample summary: Come to our Deltasig study session and check in with an officer to have your study hours recorded.

5. Scroll down to the area where it says Would You Like to Enable Check-In? and select Yes
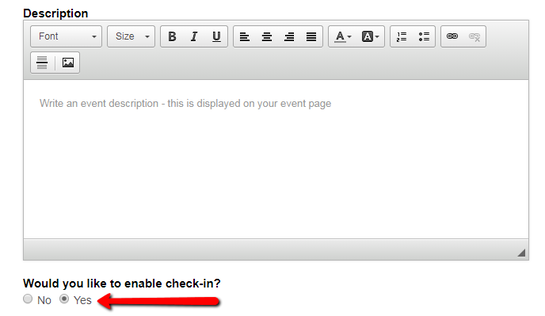
- Additional fields will appear after you select Yes
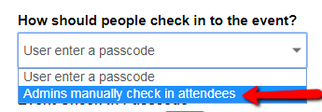
6. Select the dropdown menu under How Should People Check in to the Event? and change it to Admins Manually Check in Attendees
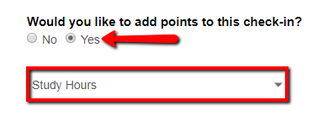
7. Where it asks Would You Like to Add Points to this Check-in? select Yes
8. Click the dropdown menu to select the Study Hours tracker you created
- Additional fields will appear after you select Yes
8. Click the dropdown menu to select the Study Hours tracker you created
9. Type in a Participation Label and Value
Sample label: Study Hours Challenge
Sample value: 1
Sample label: Study Hours Challenge
Sample value: 1

10. At the bottom of the screen, click Quick-Add on the left

Congrats on successfully creating an event and linking your participation tracker to it!
Now let’s add yourself to the guest list and check yourself in:
Now let’s add yourself to the guest list and check yourself in:
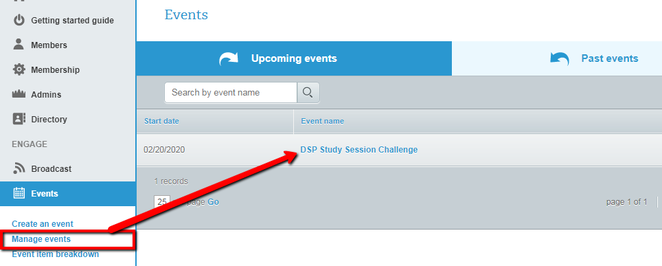
- Click on the event name you just created
- If you navigate away from this page, you can get back to it by clicking Manage Events in the left navigation sidebar
For this challenge, which is a manual check in, you will need to add yourself to the guest list.
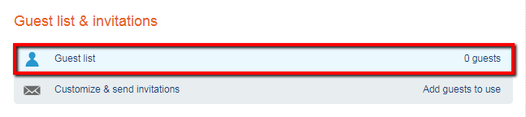
2. Scroll down to the Guest List & Invitations section and click on Guest List
2. Scroll down to the Guest List & Invitations section and click on Guest List
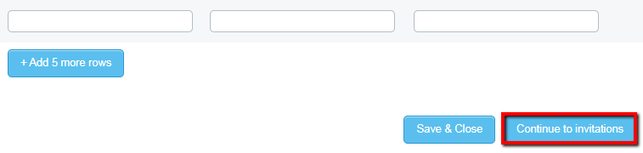
3. Click the Choose From My Group tab, then find your name and select the checkbox next to it

4. Scroll to the bottom and click Continue to Invitations
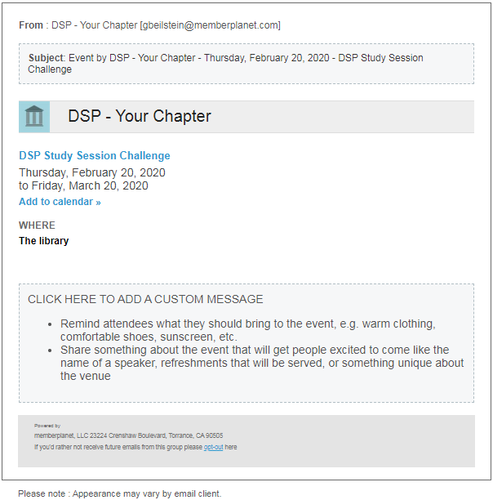
- A preview of your invitation to yourself will be displayed.
Sample preview:
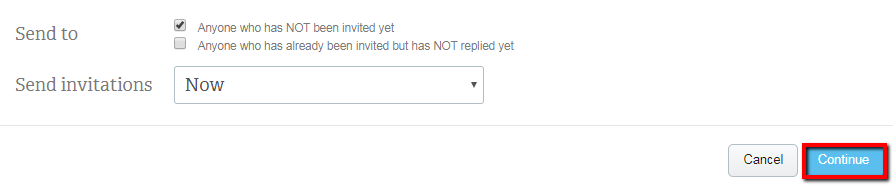
5. At the bottom of the page, click Continue
Note: You can disregard the Send To section. Since you have selected your name on the previous screen, the checkboxes in the Send To section are irrelevant.
Note: You can disregard the Send To section. Since you have selected your name on the previous screen, the checkboxes in the Send To section are irrelevant.
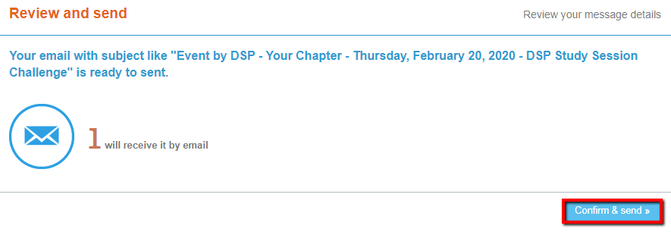
- The next screen will let you review your message details.
6. After you have reviewed your message details, click Confirm & Send
- You will be taken to your guest list, where you will see your name displayed.
7. In the Check-in Status column, click the dropdown that says Pending and change it to Checked In
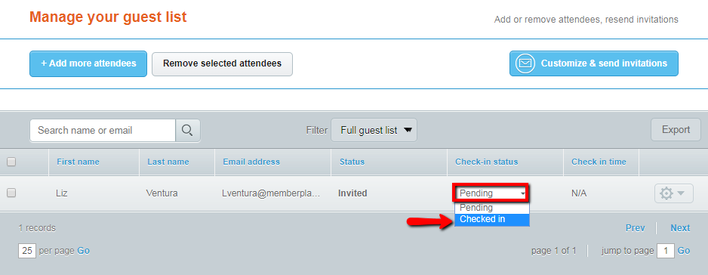
- After you’ve checked yourself in, you’ll see the check-in status update.
Sample:

Woohoo! You’ve successfully completed the check-in process!
Now, let’s go check your tracker report!
Now, let’s go check your tracker report!
- In the left navigation sidebar, click Participation Tracker
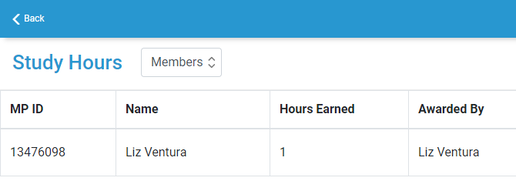
3. In your tracker dashboard, click the Study Hours tracker you created
You should see your name displayed with your hours earned.
Sample:
Sample:
The last step is to complete our short survey.
A Central Office staff member will review it and our winners will be notified once the challenge is concluded!
A Central Office staff member will review it and our winners will be notified once the challenge is concluded!
If you started the challenge but for some reason could not complete it, please let us know in the survey
Support |
|


© 2020 memberplanet, LLC. ALL RIGHTS RESERVED.